
I'm very excited because my pins are finally here! My mermaid pins and dino baking pins are available on my Etsy shop here.

I thought I'd share a bit of the process of how you can make your own pin.
1. Keep your design simple.
I really wanted to turn my dino baking illustration into a pin; but there were a few changes I had to make first. I redrew the artwork focusing on the shape and line. I also moved the bowl closer to his body and added his tail.


2. Use Pantone colours
I then added colour in Photoshop. Most pin manufacturers and indeed most printing companies use Pantone colours so that everyone has a reference to the exact colour needed. Check the companies guidlines to see what colours they offer.
3. Test your design
Before you place an order try printing your design on paper to the scale your pin will be. Then you can check if the design is clear, and if any text is readable.

4. Check out the extras
I'm not going to lie I got quite excited when I found out I could have glitter dye on my enamel pin! I was also tempted by glow in the dark dye, but didn't think it was right for the product. Maybe next time.
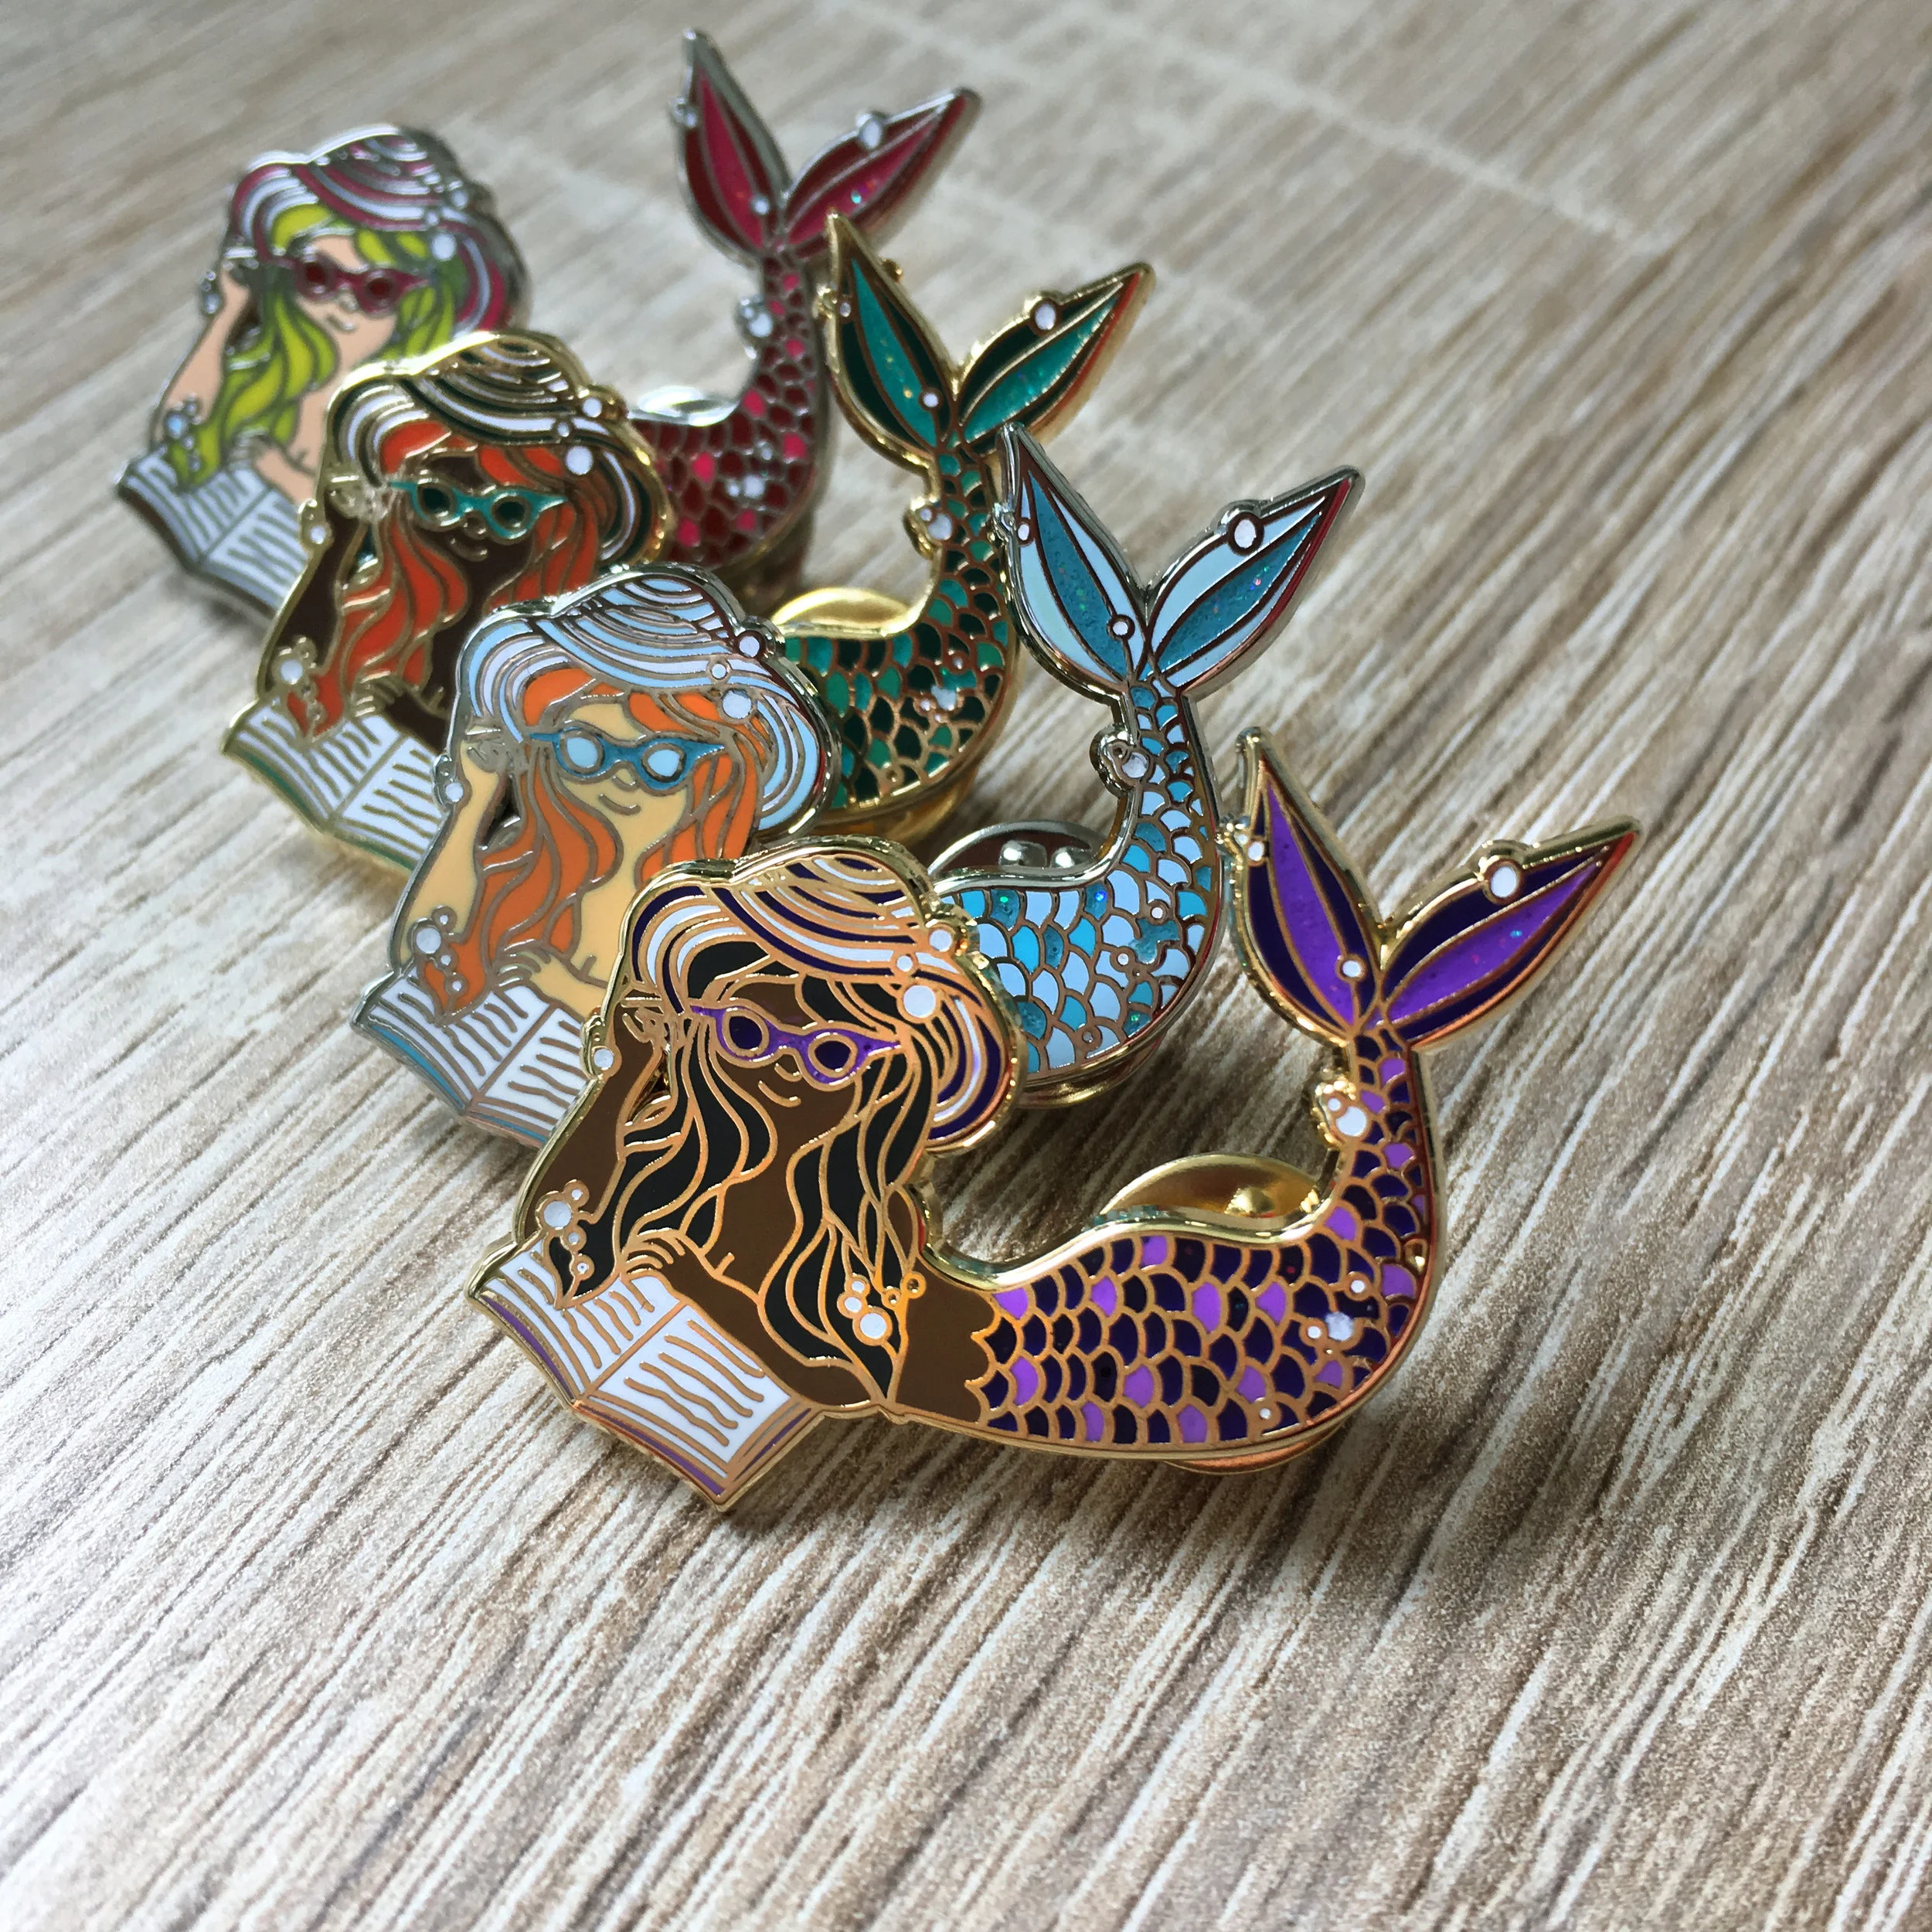
5. Get different colours of the same design.
This is what I did with my mermaid pins. I wanted to offer different skin, hair and tail colours so that people can pick their favourite. I quite like the idea of doing even more colour combinations in the future.

6. Packaging
I'm a fan of the simple but effective card backers for my pins. Make sure you include your name or brand and where people can find you, such as your website or social media.


Have fun creating your own pins and thanks for stopping by.